Deploying Azure File Sync
In case you missed it, Microsoft has released Azure File Sync to preview. Because many companies I work with have distributed (ie. international) user bases, I figured I should check this new offering out by taking it for a test drive.
Here are my findings.
Deploying Azure File Sync
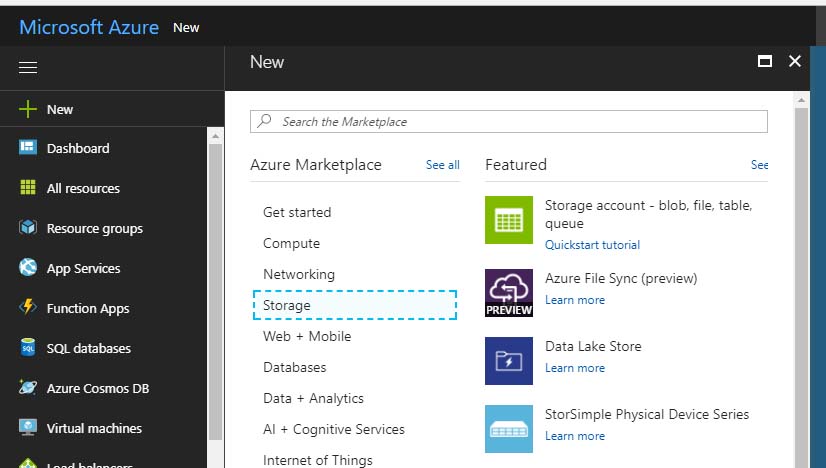
Deploying the Azure File Sync service was pretty straightforward. I just browsed the “Storage” marketplace, found Azure File Sync, and deployed it.
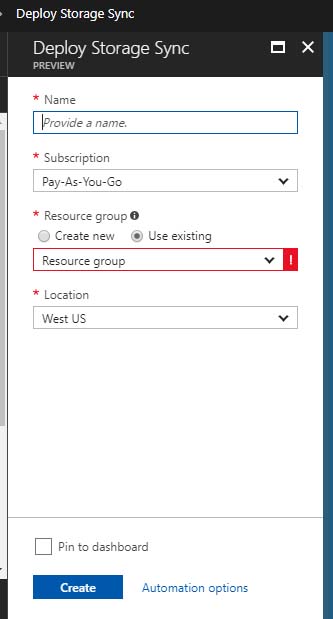
During deployment, I was prompted for the usual suspects: name, resource group, location, and subscription. Once thing I did notice during deployment was that (not surprisingly) the service is only available in a few regions. This is typical of “preview” services.
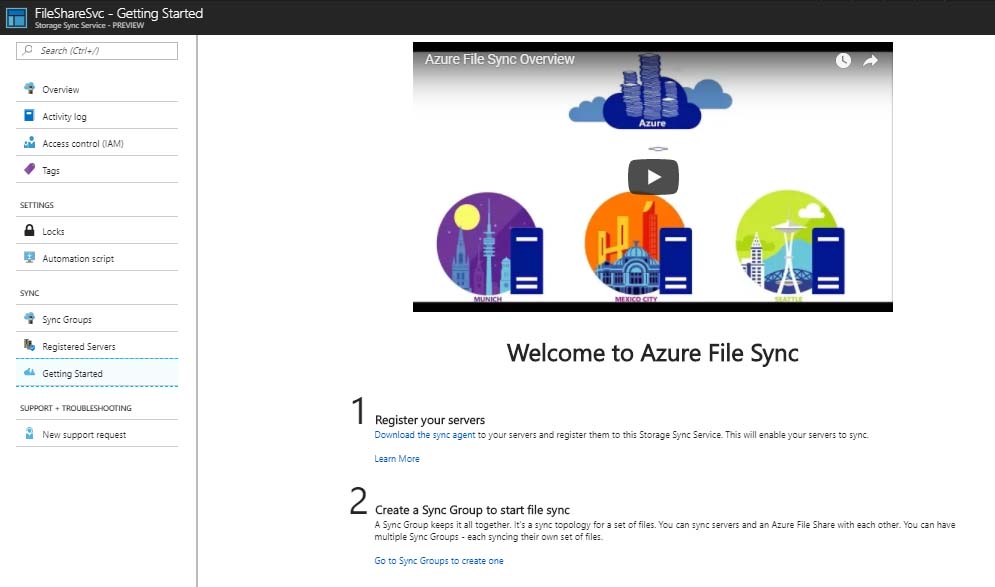
After deployment, which took less than 2 minutes, I was greeted by the welcome screen, which presented me with two steps: Registering Servers and Creating a Sync Group. Seemed simple enough.
The Azure File Sync service offering is almost certainly built on the same technology as Azure Site Recovery and Azure Backup, based on the requirement to “register” my file servers that would be replicating. The process is eerily similar to setting up ASR and Backup agents.
I had two file servers in my lab. FILESERVER was a Windows 2016 box on the West coast while FILESERVER2 lived on the East coast. To register them with Azure File Sync, I downloaded the sync agent and installed it on both servers.
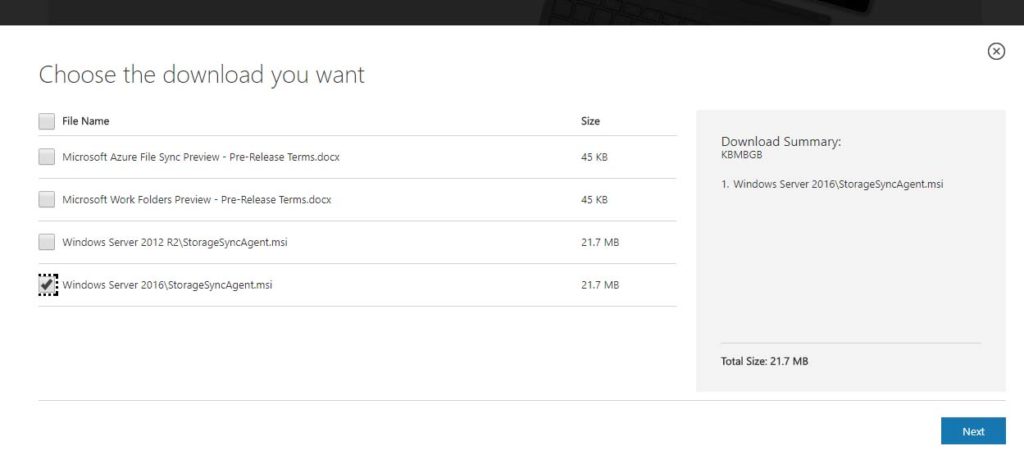
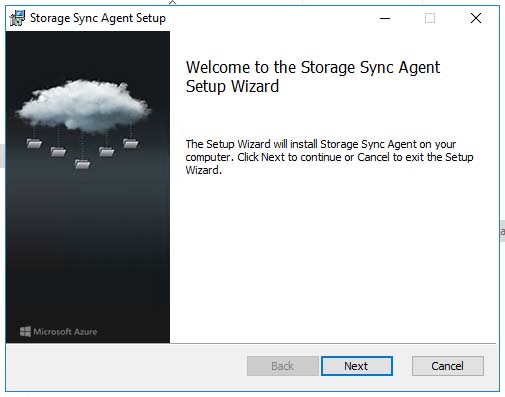
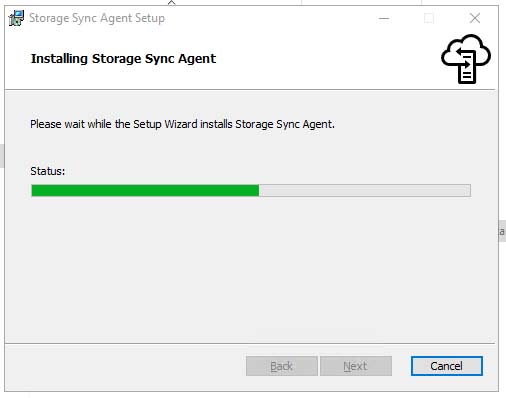
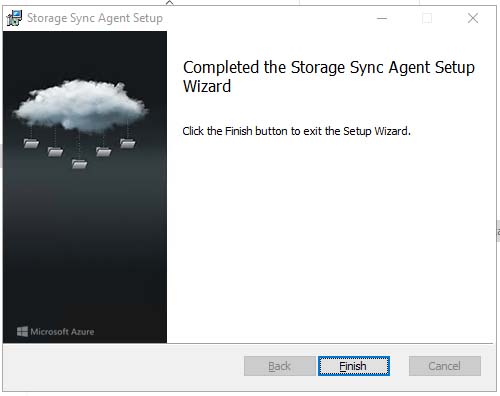
The Storage Sync Agent installation was an easy wizard-driven process.
However, when it came time to register the servers, I was greeted with the warning below.
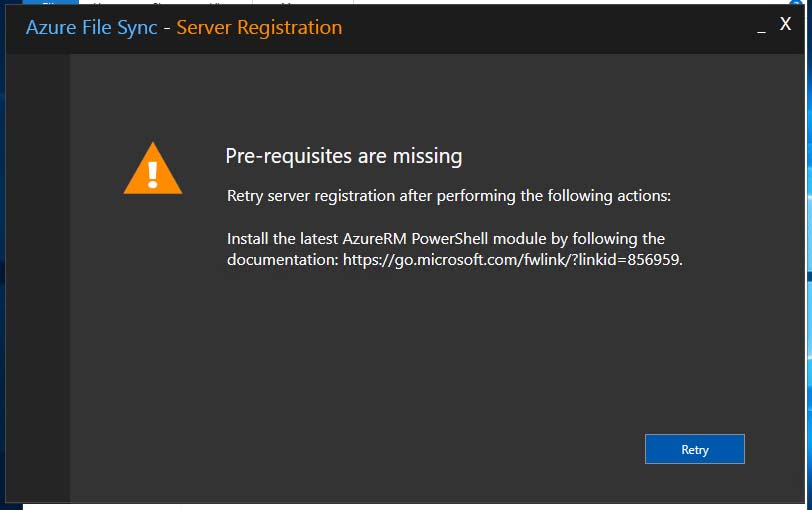
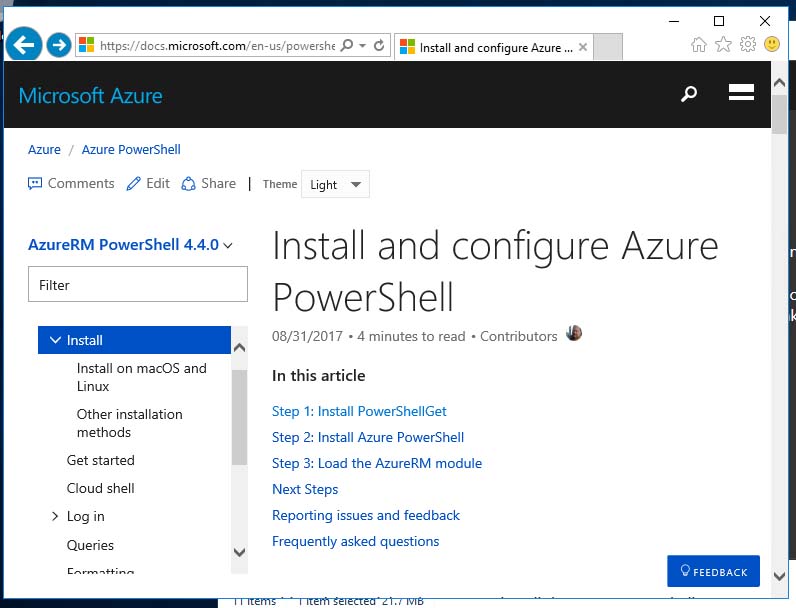
That said, it was easy enough to follow the link in the warning and to install the latest AzureRM PowerShell module on the servers. The process involved just three steps: installing PowerShellGet, installing Azure PowerShell, and loading the AzureRM module.
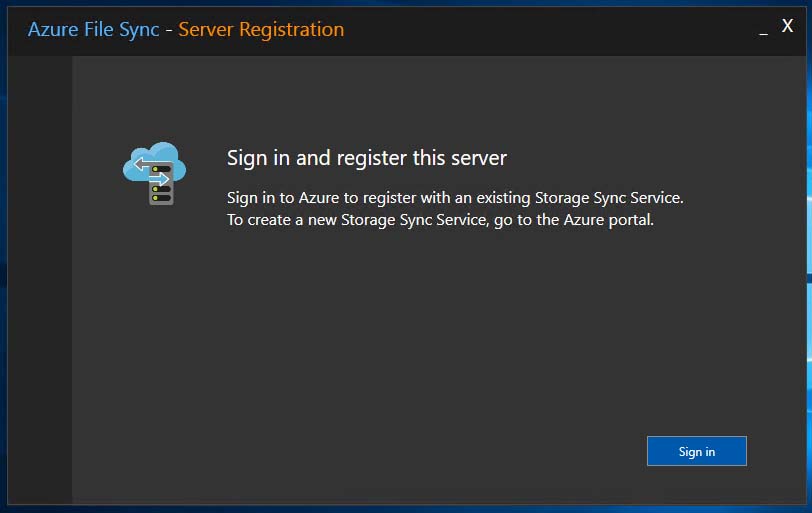
The process was entirely PowerShell-driven and consisted of just three PowerShell commands:

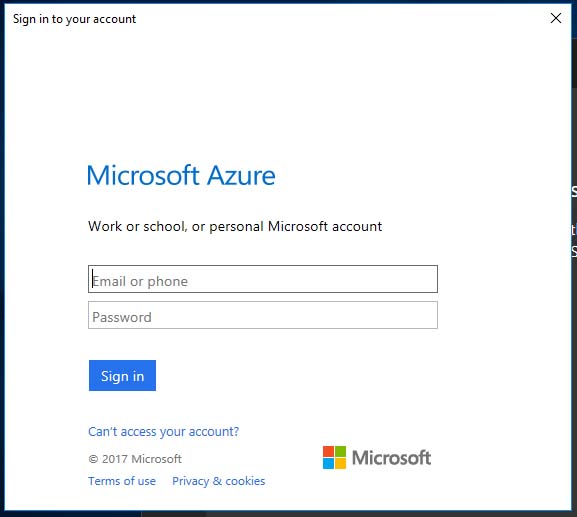
Once the PowerShell stuff was done, I was able to sign in and register my servers with my Azure File Sync service:
After clicking Sign In, I was prompted for my Azure admin credentials:
Once authenticated to Azure, I was prompted to my Azure Subscription, my Resource Group, and my Storage Sync Service that was previously provisioned.
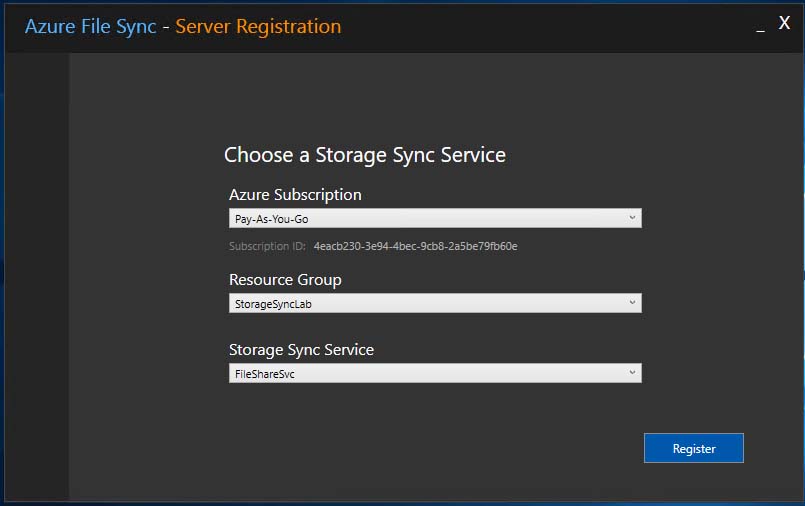
Oddly enough, clicking “Register” produces yet another prompt to authenticate to Azure using my admin credentials. I’m not sure if this was due to some “preview” bug or what; but, no big deal. I entered my credentials and signed in.
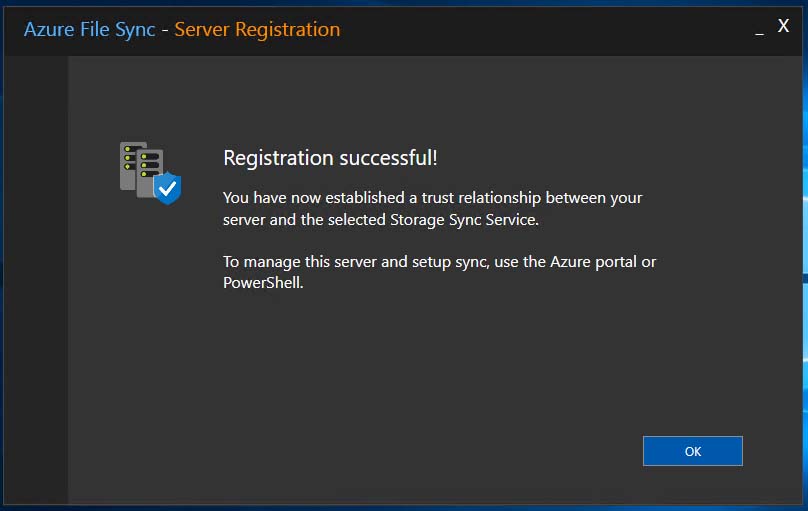
After signing in, I got the “Registration Successful” congratulations – and I clicked OK to finish up.
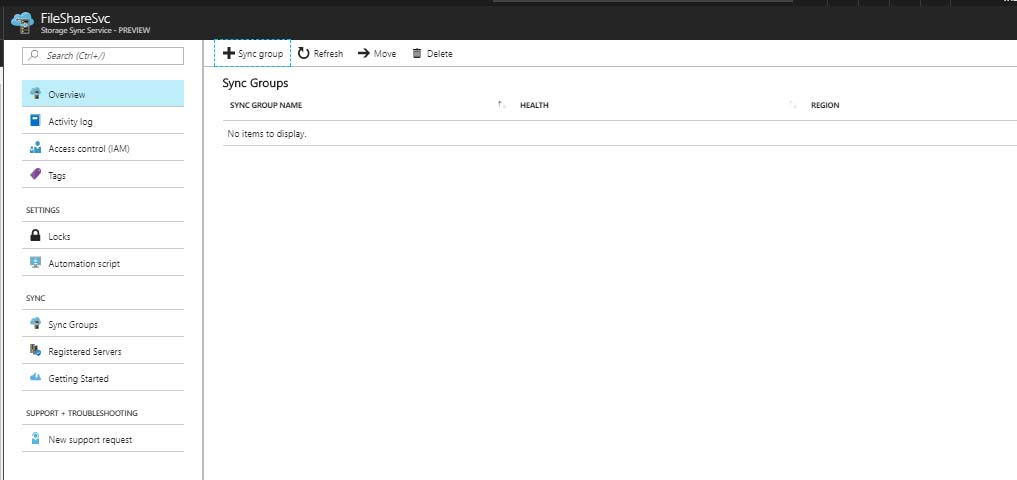
With my servers registered (I followed the above process on both of them), I switched back over to my Azure portal and clicked on my Azure File Sync service to start configuring it.
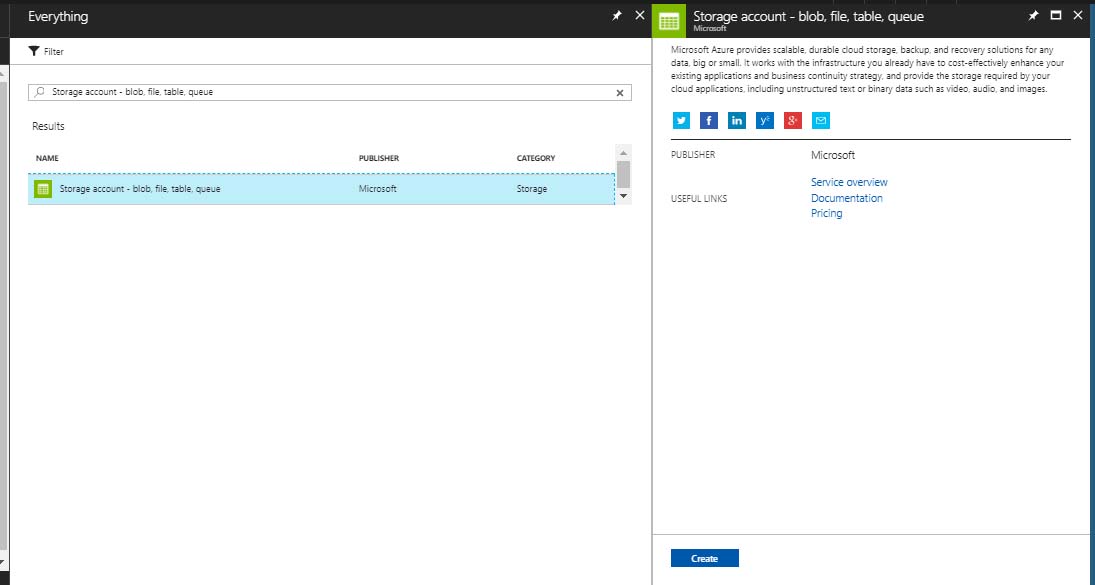
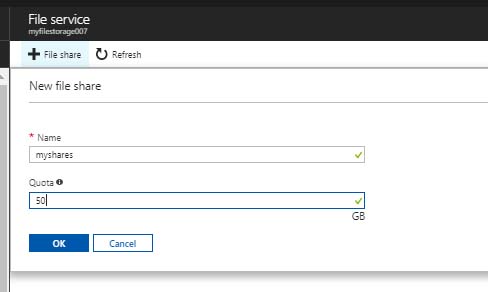
However, before doing so, I went out and created a storage account in Azure that planned to use exclusively for Azure File Sync.
With the storage account provisioned, I created a file share in it, called “myshares” and gave it a random 50GB quota just for fun.
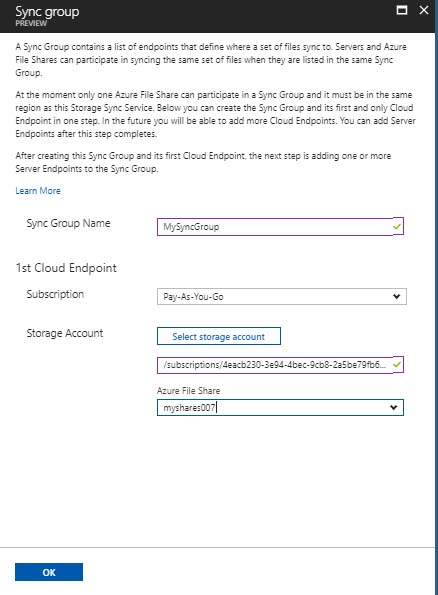
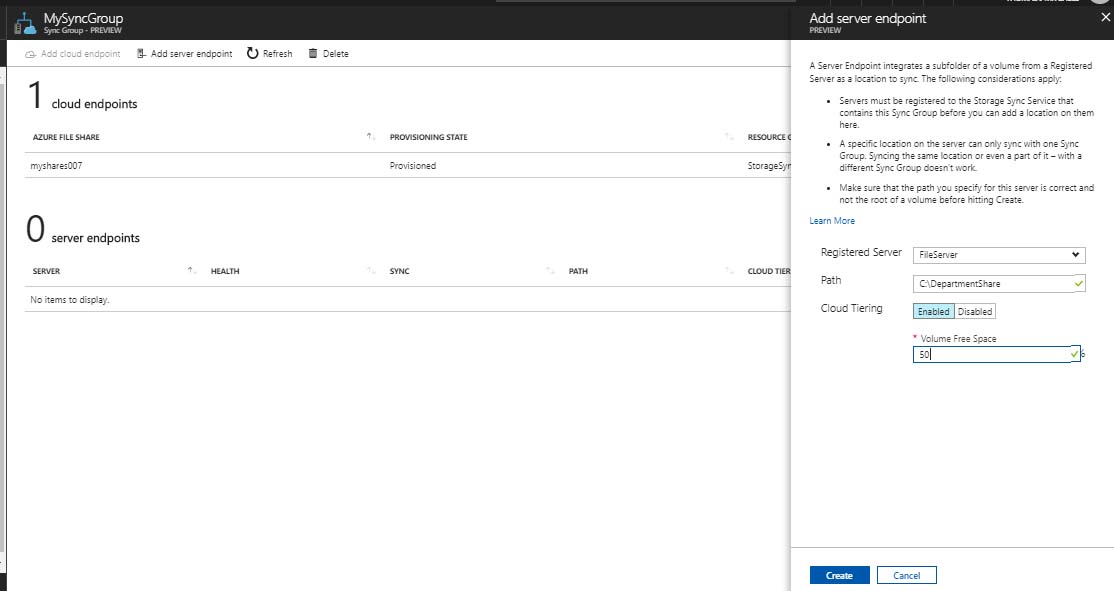
Once I had my file share configured, I switched back over to my Azure File Sync service to create the Sync Group and to setup my server endpoints. I just needed to give the sync group a name and tell it where to sync to (cloud endpoint).
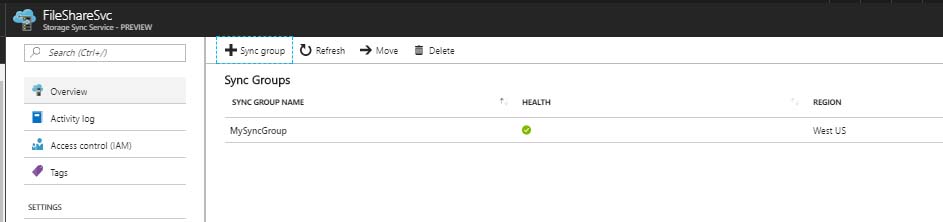
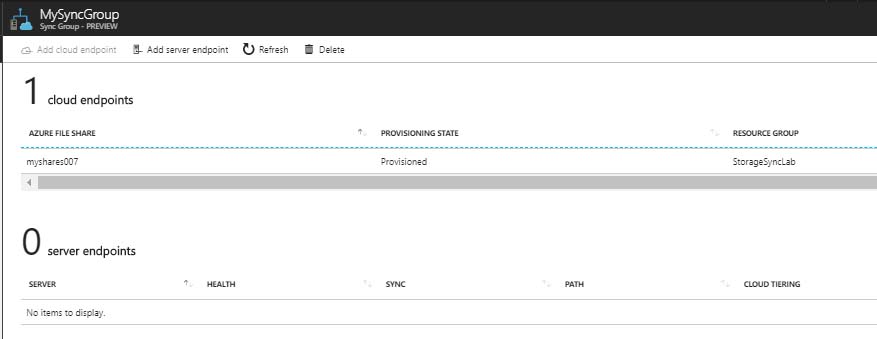
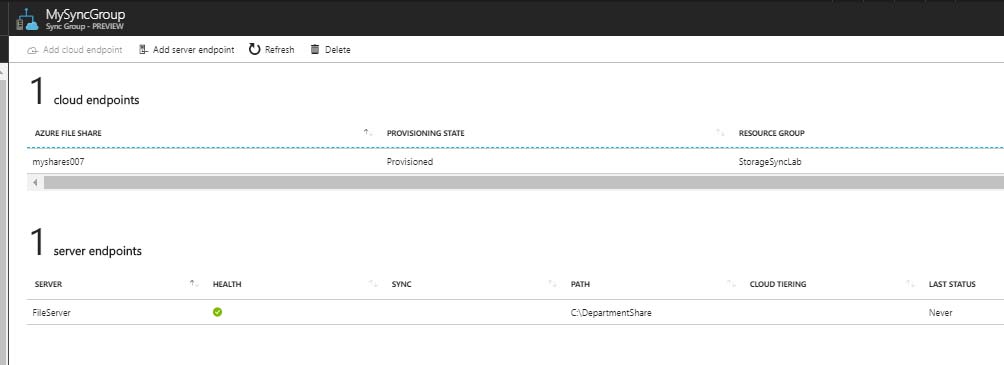
Once provisioned, I could see the sync group and cloud endpoint were both provisioned and healthy.
Adding server endpoints was simple. After clicking “Add Server Endpoint”, I was able to select each of my registered servers, along with the share path (which was actually a local path – no UNCs). I did this for each server (FILESERVER & FILESERVER2) and turned on cloud tiering, which is the feature that allows the most-accessed data to be accessed directly from the server while less-accessed stuff is pulled from the cloud. This is supposed to improve access times – but I haven’t done any kind of benchmarking yet to confirm that.
After deploying each server endpoint, I could see it’s status.
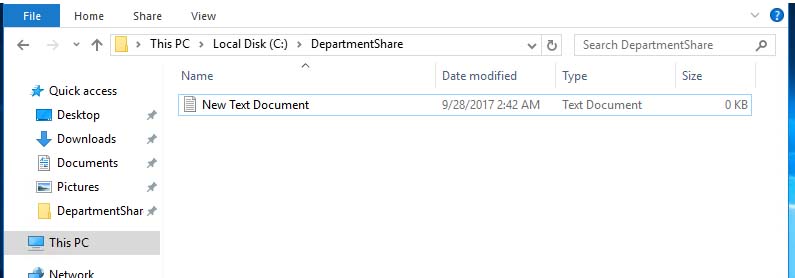
To confirm operation, I created a dummy file in my FILESERVER machine and confirmed that it had replicated to my file service in Azure.
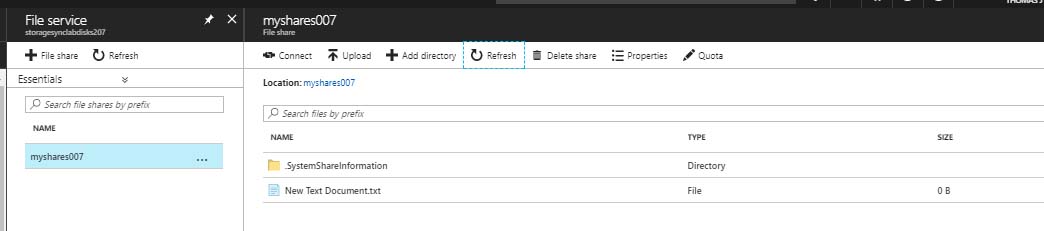
After creating the file on the server, I checked Azure File Services, and sure enough, it was there as well.
For good measure, I created a second file on FILESERVER and checked to make sure it, along with the first file, made their way to FILESERVER2.
They did:

With that, I was able to confirm that files created on my FILESEVER box were successfully synced up to my Azure file service, and from there, synced down to FILESERVER2.
What this offering buys me is the ability to provide file share access to a remote location at local-like speeds. The immediate use-case that comes to mind is a situation I’m currently facing with an existing client of mine. This client has offices in the US and in EU. Their file server resides in the US so the EU users are almost always complaining of latency issues. By implementing Azure File Sync, I may be able to mitigate most of those complaints.
Overall, the solution wasn't terribly difficult to deploy - and it appears to work rather well.
Time for a pilot….
Thomas Mitchell administrator
Who is Tom Mitchell and what does he know about IT? Tom is a 20+ year veteran if the IT industry. His broad skillset features expert-level knowledge of technologies such as Active Directory, Microsoft Exchange, Office 365, and Microsoft Azure. Tom's skillset also includes other diciplines such as VMWare, Storage, PKI, and more. Tom holds the coveted MCSE: Cloud Platform & Infrastructure certification, along with a few MCSA certifications and numerous other certifications - including the VMWare VCP certification. With extensive planning, design, implementation, and support experience, there is very little that Tom cannot handle.
About the author